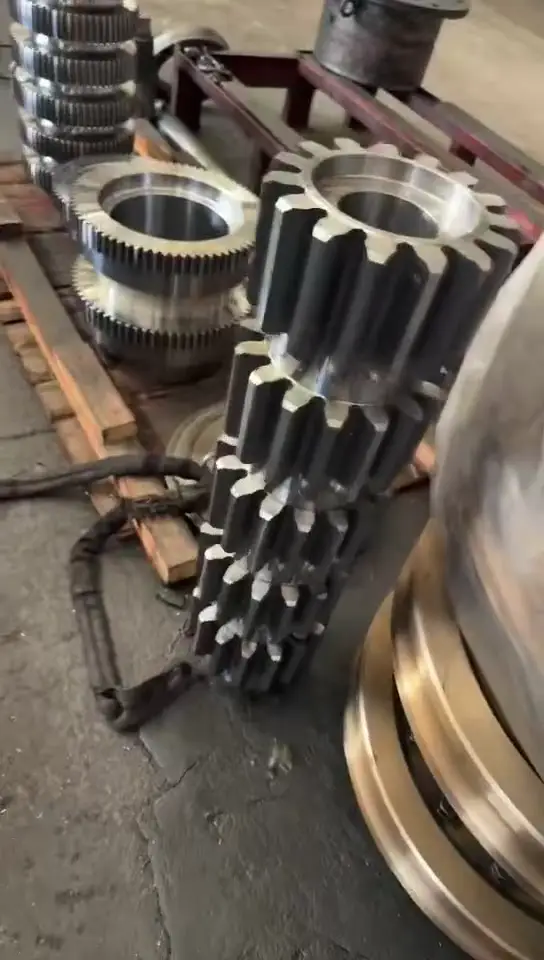
Custom Reducer Gear Manufacturing
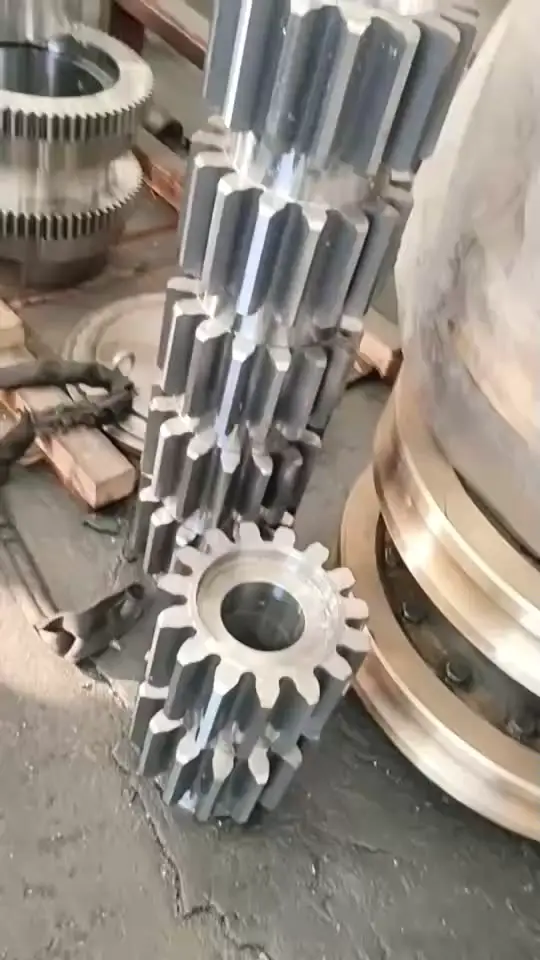
We have completed the production of a batch of spur gears for heavy-duty industrial reducers . Each finished gear weighs approximately 28 kg. The project covered the full manufacturing cycle — from forged billet to finish-machined, case-hardened gear — with comprehensive quality control at every stage.
Material
The gears are manufactured from case-hardening chromium-manganese alloy steel:
| Standard | Grade |
|---|---|
| EN 10084 | 20MnCr5 (material number 1.7147) |
| AISI | 5120H |
This grade is specifically designed for carburized components that require a hard, wear-resistant surface combined with a tough, ductile core — making it the standard choice for heavily loaded gearing in reducer applications.
Typical composition (wt %): C 0.17-0.22, Si max 0.40, Mn 1.10-1.40, P max 0.025, S max 0.035, Cr 1.00-1.30.
Gear Dimensions
| Parameter | Value |
|---|---|
| Outside diameter | ~238 mm |
| Pitch (reference) diameter | 210 mm |
| Length (face width + hub) | 170 mm |
| Bore diameter | ~100 mm |
| Weight per piece | 28.44 kg |
Gear Parameters
| Parameter | Value | Standard |
|---|---|---|
| Module | 14 mm | — |
| Number of teeth | 15 | — |
| Accuracy grade | 7 | ISO 1328-1 |
| Reference profile | per ISO 53:1998 | (basic rack) |
| Center distance (mating pair) | 455 mm | — |
Heat Treatment & Surface Hardening
The gears undergo a two-phase heat-treatment process to achieve the required mechanical properties:
1. Core: Quenching & Tempering (Q&T)
The blanks are through-hardened and tempered to achieve a core hardness of 240–300 HB (Brinell). This provides the necessary toughness and fatigue strength in the gear body and tooth roots.
2. Surface: Case Carburizing
After finish machining of non-tooth surfaces, the gears are case-carburized:
| Parameter | Value |
|---|---|
| Effective case depth | 1.2–2.5 mm |
| Surface hardness | 56–62 HRC (Rockwell C) |
The deep carburized layer ensures exceptional wear resistance and contact-fatigue life on the tooth flanks, while the tough core absorbs shock loads typical of reducer service.
Production Process
Stage 1
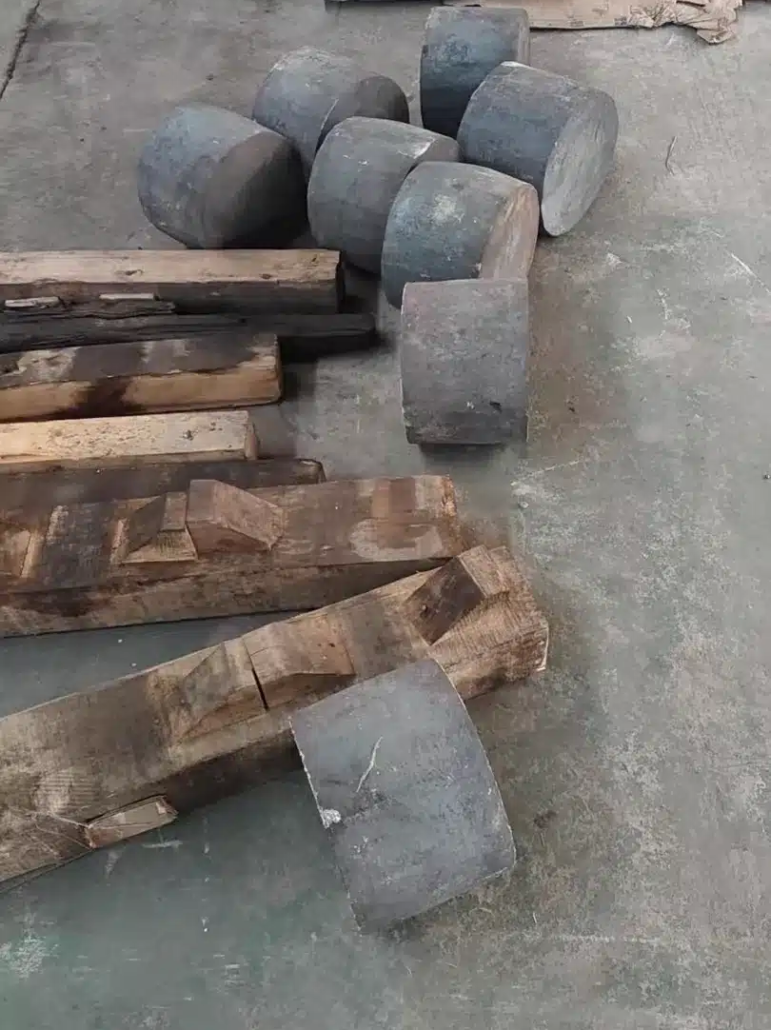
Incoming Material: Forged Billets
Forged cylindrical billets arrived from the forge shop. Each billet was inspected for surface defects, dimensional conformity, and material certification.
Stage 2
Rough Turning: OD & Bore
The billets were chucked on a CNC lathe for rough turning of the outside diameter and boring of the central hole. Machining allowances were left for subsequent finishing.
Stage 2
Stage 3
Semi-Finish Turning: Faces & Shoulders
Faces, shoulders, and hub features were machined to semi-finish dimensions. The blanks were now taking the recognizable gear-blank shape.
Stage 4
Finish Turning & Inspection
Final turning passes brought all cylindrical and face surfaces to drawing dimensions (except tooth profiles). Each blank was measured and approved before proceeding to gear cutting.
Stage 4
Stage 5
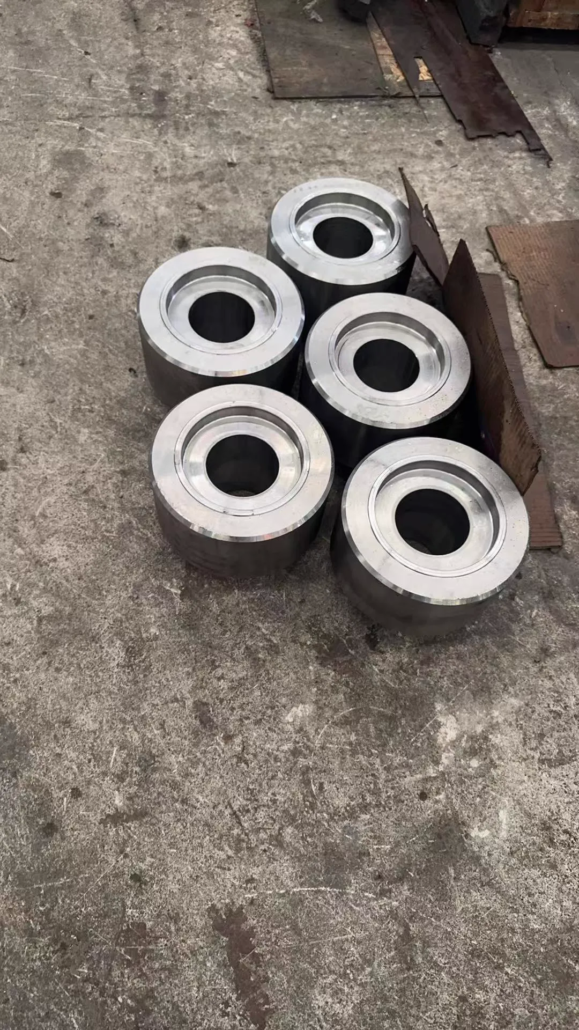
Rough-Machined Blanks Ready
All blanks completed the turning sequence. The machined blanks with bored center holes were staged for the gear-cutting operation.
Stage 6
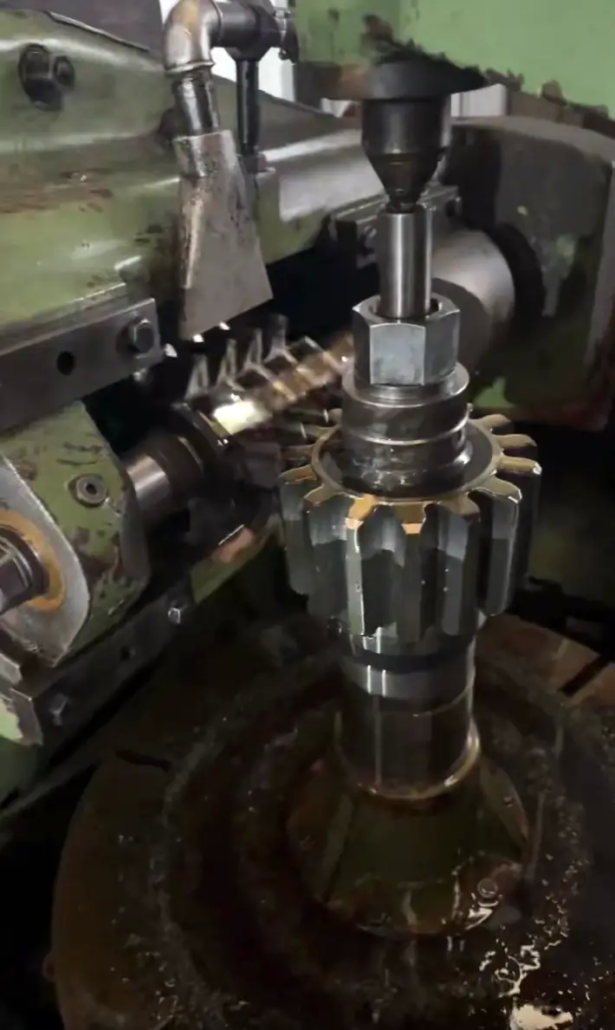
Gear Hobbing
Teeth were cut on a gear hobbing machine using a module-14 hob cutter. The hobbing process generates the involute tooth profile in accordance with ISO 53, targeting accuracy grade 7 per ISO 1328-1.
Stage 6
Stage 7
Heat Treatment, Final Machining & Inspection
After hobbing, the gears were sent for case carburizing and quench-and-temper heat treatment. Post-heat-treatment operations included:
- Grinding of bore and datum faces
- Final dimensional inspection
- Surface hardness verification (56–62 HRC)
- Core hardness check (240–300 HB)
Quality Control
Every gear in the batch was subjected to comprehensive quality assurance:
- Material certificate — chemical composition and mechanical properties per EN 10204 Type 3.1
- Dimensional inspection — all critical dimensions verified against drawing requirements
- Gear geometry check — profile, lead, pitch, and runout measured per ISO 1328-1
- Hardness testing — surface (HRC) and core (HB) hardness documented
- Non-destructive testing (NDT) — magnetic particle inspection (MPI) of tooth roots and critical fillets to detect surface/subsurface defects
- Quality certificate — full inspection report and material traceability supplied with the shipment
Standards Reference
| Parameter | International Standard |
|---|---|
| Material | EN 10084: 20MnCr5 / 1.7147 (≈ AISI 5120H) |
| Gear accuracy | ISO 1328-1 — Grade 7 |
| Basic rack profile | ISO 53:1998 |
| Hardness scales | HRC (Rockwell C), HB (Brinell) — internationally recognized |
| Material certificate | EN 10204 Type 3.1 |
Completed January–February 2026

